Leif Svensson, Clinical Director
Affordable Denture & Implants, Australia
Today, ladies and gentlemen, marks my 2,500th intraoral scan case! On the journey toward becoming a digital practitioner, this is a great milestone with lots of clinical highlights. In the midst of those 2,500, I was able to build a specialized training program for the largest TRIOS scanner roll out in Asia Pacific, spanning some 100 locations with more than 500 practitioners. I’ve had the opportunity to work with several hundred highly skilled practitioners along the way and have learned so much—especially in the world of digital implant planning and scanning.
Here are my top 10 learnings after scanning 2,500 dental cases:
- Use good hardware—do your research and get the best scanner you can afford!
- Be fearless! You will be nervous in your first 10 to 20 scans—that’s normal. After 100 you will be unstoppable. Get to 100 as soon as possible directly after your first training session.
- Set your scanner up on the most versatile rolling stand you can find (unless you’re lucky enough to get a TRIOS MOVE+). I have found several good scanner accessories from Anatomic4d, but there are many great ones out there.
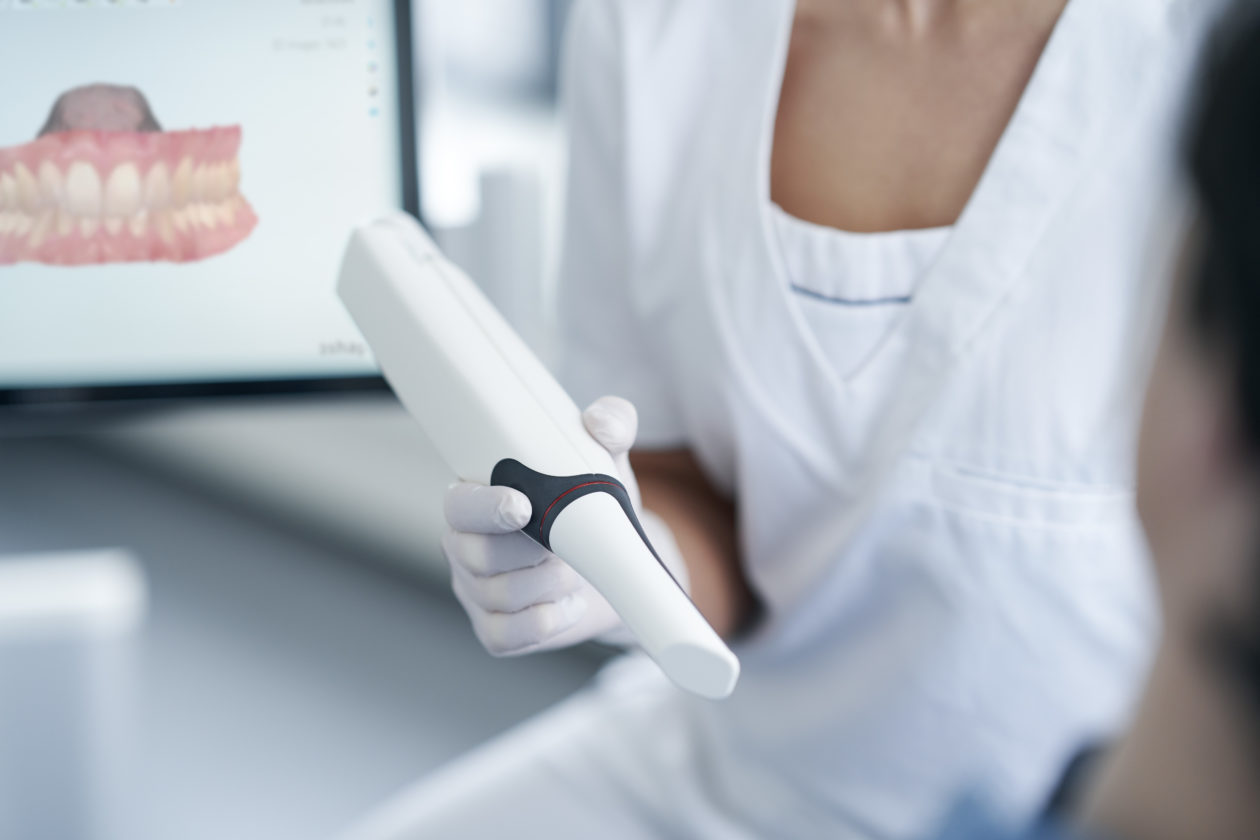
- Adopt good scanning posture—this is CRITICAL. Decide if you are a stand up (front approaching) or sit down (rear approach) scanner. Then master positioning your body according to the arch and indication you are working on. I even think about posture as it relates to the quadrant I’m working on. Get your body into position so you can always have the scanner head parallel to the area you are capturing. It’s good to learn and memorize these positions in your surgery.
- Support the scanner tip, ALWAYS. At all times, try to achieve a bipodized support position for your scanner tip with another finger or part of your hand. Your support finger should thus be supported by a patient landmark (tooth, sulcus and/or other). Note you may need to swap this support finger as you scan around the patient’s mouth. Use the support finger to steer the scanner. It’s a handy pivot and scanner head rotation point, especially as you cross the patient midline. I also use scanner bipodization positions to retract soft tissue while still capturing and supporting the scan head. This is a great asset. Optragate is good when you are only capturing tooth surfaces. When capturing soft tissue, however, this form of retraction can get in the way. Finger retraction is the best. The retraction finger becomes the support bridge between your hand and the scanner head support, and just rolls along clearing a path for your capture.
- Be critical of your scans, and don’t be afraid to ditch and go again.
- Trim. Trim your scans according to your appliance indication. Look for foreign detached and attached anomalies in your scans, especially if you do some non-AI scanning. Your finger will feature prominently in that movie!.
- Find a good lab; one that communicates really well with you. Some labs have direct tech links these days. Awesome support is key, especially when starting out.
- Be patient with edentulous scans. Edentulous areas are the hardest to scan, whether full or partial. Build up to it. Start small and increase as your confidence increases.
- Be inventive. You don’t always have to follow the exact predefined manufacturer scan strategy (especially in cases with large edentulous areas). My general rule when there are missing teeth is to always start with that area that has the most hard structures. In this case, start where the most teeth are, and build your scan path from there.